There’s no denying that parallel compression is a great way to pump up just about any group of instruments. The technique involves creating a parallel stream of audio, compressing the hell out of it and mixing it with your original signal. It tends to work especially well with drums and percussion.
Although this is a great technique, a traditional parallel processing set up can often be time consuming to set up. I’m going to show you a way we can use certain plug-ins to create a parallel compression effect, in a fraction of the time.
Choosing Your Plug-in
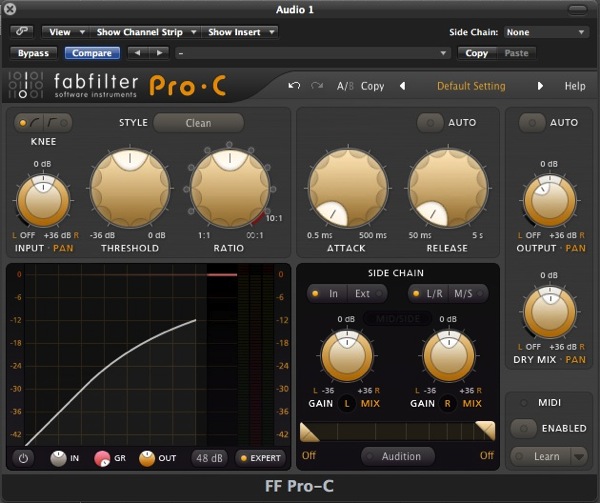
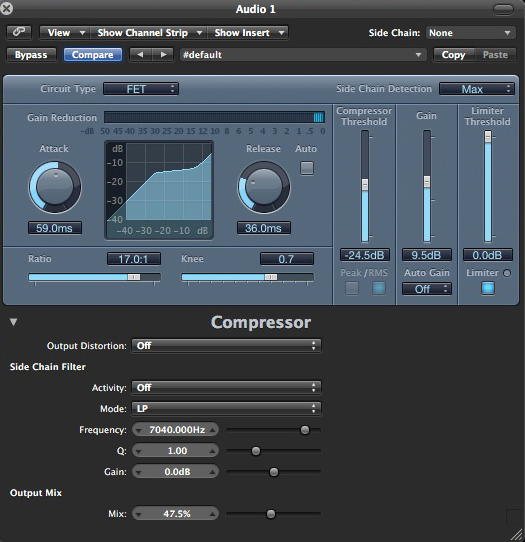
First up we need to choose the right compressor plug-in for the job. Usually, when we are constructing a standard parallel compression buss just about any compressor can be used. The key here is to use a compressor with a ‘mix’ function that allows us to mix the dry and effected signals.Although not every software compressor has this feature (although maybe they should!), I’ve picked out two that I use. Logic’s stock compressor has a hidden mix function that can be accessed via a small drop down menu, in the lower half of the plug-in’s interface. A third party software compressor that features a mix function is Fab Filter’s excellent ‘Pro-C’. Of course this plug ain’t free but it certainly wont break the bank ( €149 / $199 / £129 ) and you get an extremely flexible processor for your money. Check it out here.
Fabfilter’s Pro-C is an excellent tool for stand-alone parallel compression. Of course there will be plenty of other compressors out there with a wet/dry mix feature. If you have a favourite or know of a free product, let us know by leaving a comment.
Using the Right Settings
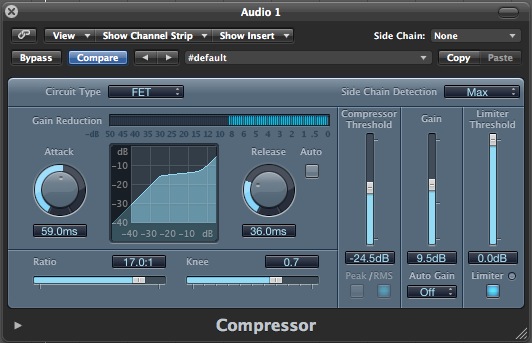
Before we get into how we create our instant parallel buss we need to look at some typical compression settings we’d use in this situation. More often than not pretty extreme compression settings are used in conjunction with parallel processing.You can afford to use much more intense settings than you are used to here. As we are going to mix the final result with a dry untreated version of our audio, you can really push it and use high ratio and threshold values. I wouldn’t often recommend this approach but … don’t be scared, go ahead and smash it!
The extreme settings in Logic’s compressor.
Mixing the Effect
With the dynamics crushed out of your audio and our intense settings in place, it’s time to use our mix function, introduce some dry signal and ultimately create our parallel compression effect. To apply our compression it really is as simple as starting at zero (or 100% dry) and slowly introducing our heavily compressed signal. I tend to find that around 20 – 30% of the compressed signal tends to work well but of course this is just a guideline. So if you have a compressor with a mix function get stuck in and quickly serve up some parallel compression effects in seconds!
Our parallel compression effect is created.
Original Source – http://audio.tutsplus.com/tutorials/production/quick-tip-super-quick-parallel-compression/


