
No matter which DAW you use it’s highly likely that you will have suffered the effects of latency at some point. If you use a good selection of third party plug-ins or work with high track counts latency can become a real issue.
Although latency is here to stay for the foreseeable future there are things we can do to make it manageable problem. Here we’ll take a look at a few workarounds. Feel free to let us know how you deal with latency by leaving a comment.
Making Some Simple Changes
Before you do any major tweaks to get things in line, there are some things you can do give your system the best chance to perform at its best.
If you are pretty experienced it’s likely that you’ll have a lot of this in place already but you can try things like installing the latest drivers and updates for your hardware interface and DAW. A simple move but usually having the latest versions will give you access to the latest latency reducing features.
Updating your hardware will also give you the best chance of achieving low latency figures. So with this in mind, and where possible, try to run the fastest hard drives, largest amounts of ram and try to avoid running crucial devices through USB or firewire hubs.
It’s all about common sense, keep things running well and you should at least get the lowest latency your equipment will allow.
Revising Your Workflow
Once you actually get into your projects there are a couple of areas you can look at to keep your latency at a reasonable level. One of the techniques you can use is bouncing. This will involve bouncing (or freezing) active instruments and plug-in heavy channel strips to dry audio. This will reduce CPU and in turn allow you to run your system at a lower latency.
I find it useful to keep these ‘deactivated’ instruments and channels available, either by keeping them in your project or saving an alternate project before you delete them. This way you can always go back, alter them and re export if needed.
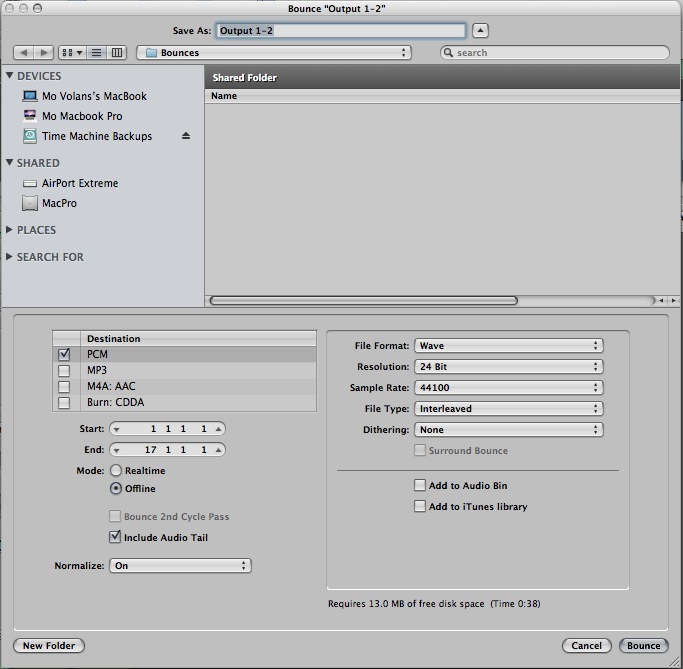
"Bouncing instruments in Logic"
‘Riding the Buffers’
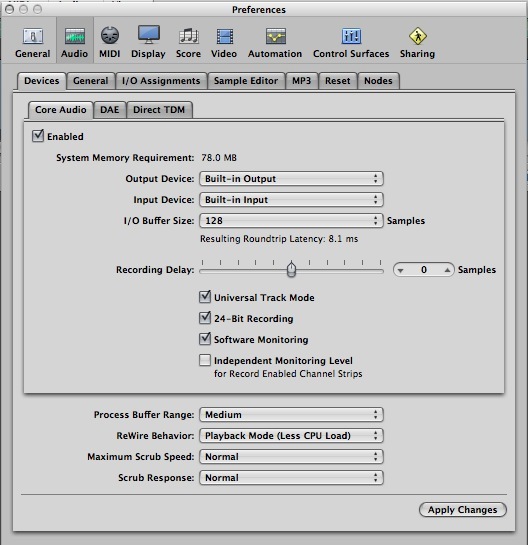
If you are a relative beginner, you may be asking how does lowering our CPU usage effect latency? Well It’s all to do with something called the buffer. The buffer is small section of RAM used to store pre-processed data before it is fed into the CPU and ultimately digital converters in your audio interface for playback.
The smaller our buffer the lower the overall system latency but these low latencies come with a price and that’s higher CPU usage. So if your CPU is overloaded simply up your buffers, problem solved? Well no, this would of course mean higher amounts of latency. So by keeping down our CPU usage in our projects, we preserve more ‘head room’ to run at lower buffer values and reduce latency.
The real trick here is to see your buffer settings as something flexible and become used to altering them throughout your project. I tend to start low (say a value of 64 or 128) and increase the value as the project becomes more complex. This tends to work as most of your mid recording is done early in the project and therefore the increased latency in the later stages is usually not too much of a problem.
Now get back to your music and keep it colourful!!
Original Source: Here