This Cubase Quick Controls Tutorial shows you how to use Cubase’s Quick Controls to assign Massive parameters to your MIDI controller in an uncomplicated way.
The advantage of learning to use the Quick Controls for automation is that you can also use them to control the parameters of any other plugin in Cubase.
Massive comes with a host of parameters that you can control in real time with a MIDI controller or using an automation track within your DAW.
Step 1
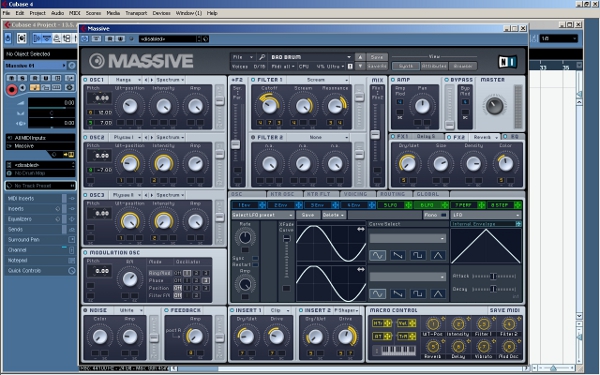
Open a new Cubase project, add an instrument track and load Massive onto it. Then choose a sound preset. For this demonstration we will use the Massive factory preset “Bad Brum”.
Step 2
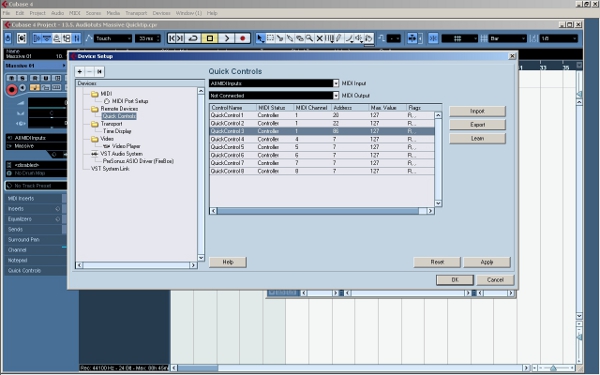
Now we are going to set up the Quick Controls. Go to Devices>Device Setup under the main menu. Under the section “Remote Devices”, you can set up the Quick Controls.
We are going to assign an external MIDI controller fader to Quick Control 1. First move the fader on your external MIDI controller. Then select Quick Control 1 (the first line). Then click on the “Learn” button on the right hand side.
Now repeat the same process with a different MIDI controller fader for line 2 (Quick Control 2). Notice that Cubase automatically detects the MIDI Address of your faders. After doing this, click on “OK” and close the menu.
Step 3
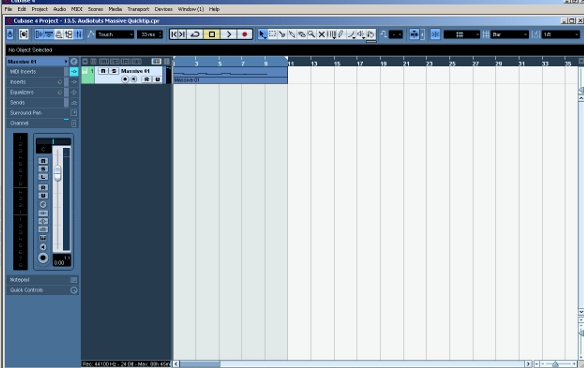
Using your MIDI keyboard or Cubase’s key editor, record some musical MIDI data on the Massive track. The example is a simple slow phrase that we can use to showcase the changing parameters.
Step 4
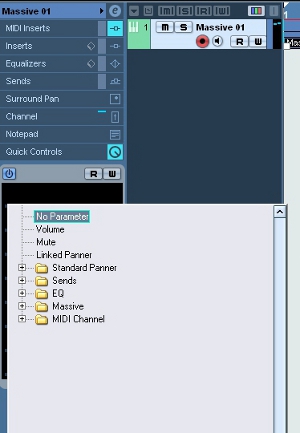
Go to your the track inspector for your Massive track and open the Quick Controls tab. If you click on one of the lines under this tab, a menu with a number of submenus appears. Under a submenu for Massive, you will see a long list of parameters to choose from.
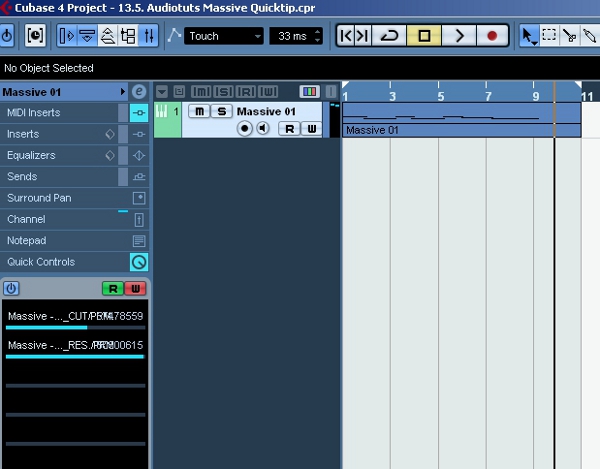
Click on “FILTER1_CUT/PRM” for Quick Control 1 and “FILTER1_RES/PRM” for Quick Control 2. This will allow you to control the cut and resonance parameters of the first filter in Massive.
Step 5
Click W on the Quick Control tab to enable recording MIDI controller data. Then, using the two MIDI controller faders that you assigned to Quick Controls 1 and 2, record some automation for the phrase we’ve already got.
To play this data back, click R on the Quick Controls tab to enable reading during playback.
That’s it! As we have seen, this way of using MIDI controller automation in Cubase is very convenient. It enables you to quickly modify plugin parameters inside the DAW using your external MIDI controller, without having to learn to use each plugin’s different interface.
Original source here.

