Liam O’Mullane continues his in-depth look at the capabilities of Push in this Ableton Push tutorial Part 2. View Part 1 here.
Exploring Melodic Ideas
Push’s scale system offers a unique way to approach melodic work, and there are several ways to interact with it. The first approach is to find a chord shape you like the sound of. This can involve one or two hands, but two hands can make this exercise a little harder as you then need to move the same hand shape around the scale grid. The following techniques allow for super-easy chord changes:
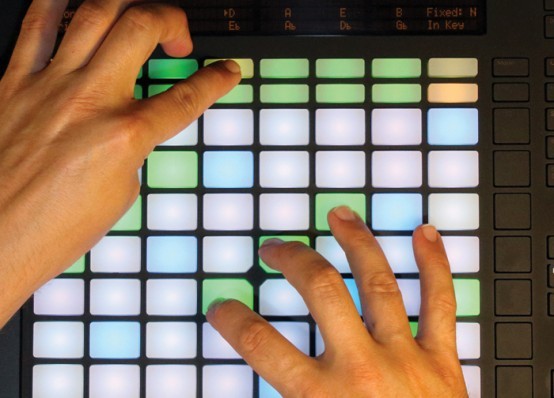
The choice of scale is easy to change, and it’s worth taking some time to explore the library included with Live. Scale-changing is immediate when applied, which makes it a creative tool in itself. Instead of moving your chord hand, hold a chord shape and switch the key or scale with the other hand as you play.
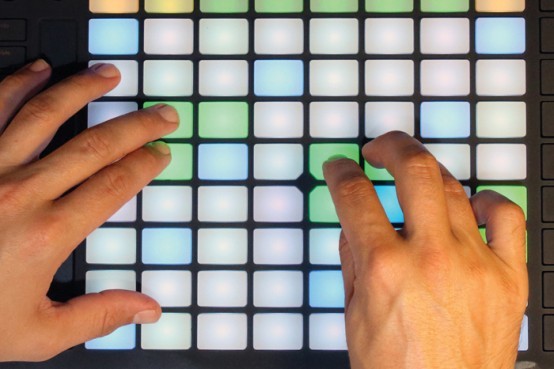
You can take a completely pattern-based approach to exploring new chord shapes as you move on. If you find a particular shape with one hand, try flipping it around by either 90, 180 or 270 degrees with the other hand for the next chord. Use the repeated green lights as a guide to determine how your next chord can be linked to the previous one in terms of pitch.
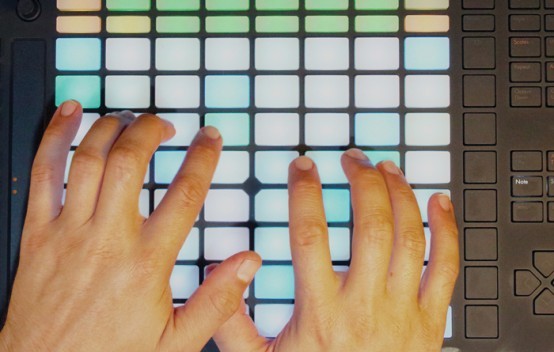
Because you can play the same chord in different areas of the scale grid, interesting rhythmic possibilities can be explored as you can play the same or neighbouring notes with both hands, like a drum. Hold the same chord with your left and right hands, then either alternate between two identical chords or use the individual notes for creating arpeggiated pieces.
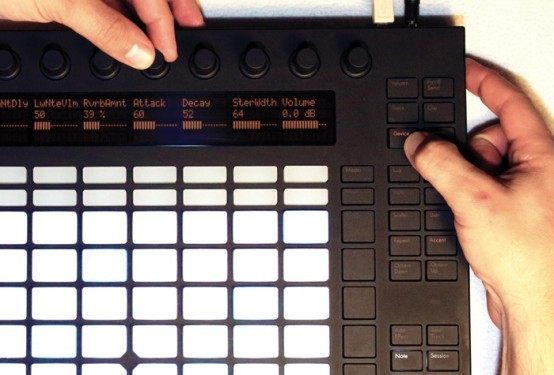
If you haven’t already tried tweaking your current melodic sounds to better suit your ideas, explore the instrument’s ADSR, filter and other settings to tighten or open things up as appropriate. These parameters can be tweaked during playback for more variation, and you can record your automation passes by pressing Automation, followed by Record.
Although varying parameters over time can work on many occasions, a general static change of certain parameters from one song section to the next can also do wonders to help define the sections in your arrangement. Enable Automation and Record, then hold a finger against the encoder dial’s side so a fixed position can be recorded as new automation.
Arranging With Push
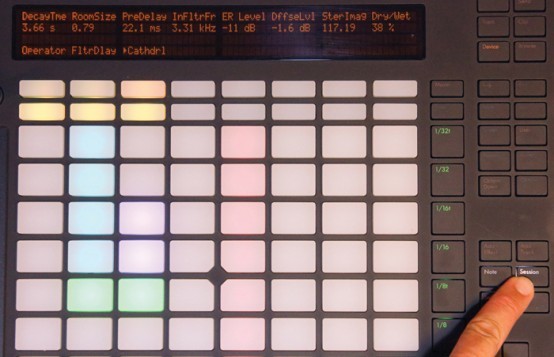
When your basic song ideas are together in Push, it’s time to commit them to Arrangement View so you can move over to the computer and finish everything off. There are a few ways to do this, the first of which uses the classic approach of launching clips as a performance. To begin, switch from Note mode to Session mode.
You can now see all of your clips and scenes, which can be launched via the illuminated pads or quantize buttons down the right-hand side respectively. From here, you can start creating more scenes using Duplicate, then modify certain clips or use Delete to create different combinations of clips for more variation.
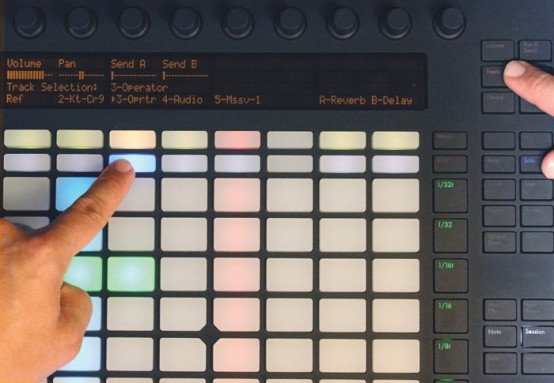
If you’re struggling to decide what your song sections should include, try a bit of experimentation. If you switch to Track View you can use either the mute or solo buttons to try out different combinations. Soloing a main riff is great for a breakdown, or just the drums for intros. If you find a combination that works, duplicate the scene and delete the unwanted clips.
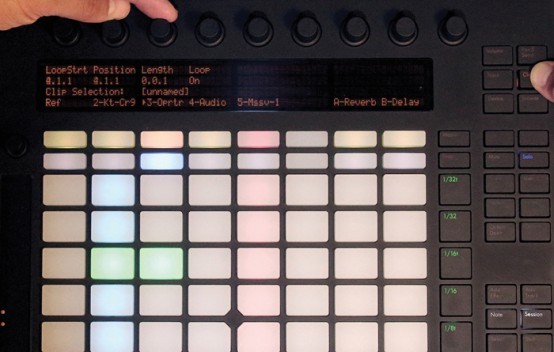
You can reprogram certain clips for more variation, but this isn’t the only option – another approach is to alter a clip’s properties. Press the Clip button to view and alter the play marker position and loop-length values (short loops work very well for stuttered effects). You can alter the start position to move around the contents of the clip. Hold down Shift for finer movements.
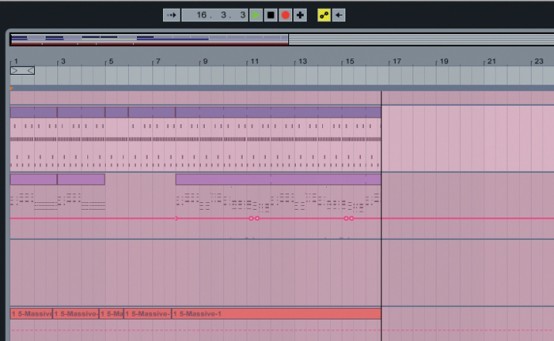
If you’ve played around with your scenes enough to know how your song arrangement should be, hit the Arrangement Record button in Live and launch your first clip or scene from Push to begin capturing your song’s layout. If you’re a little unsure whether the arrangement is right or not, record a few attempts, one after another, then wait a day or so before reviewing them and deciding which is best.
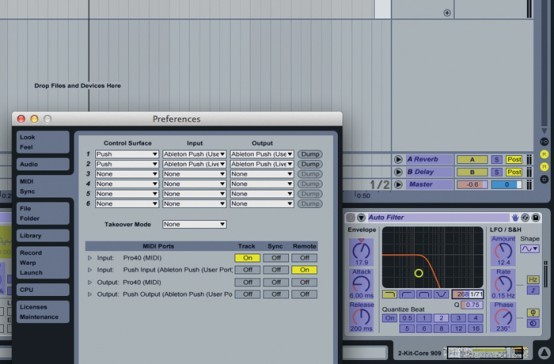
For a more full-on performance as you record into Live, you may want to set up various essential parameters to tweak as you record. To create custom mappings, switch Push into User mode and use MIDI Map mode in Live to assign certain parts of Push to elements of your performance. Make sure that the input of Push has Remote Mapping mode enabled in Preferences or mapping won’t work.

