I thought it was time to give Reason 6 a bit of attention, so I thought I’d walk you through the creation of a custom kit and drum pattern using Kong and Reason’s internal sequencer. Here we’ll be looking at producing drum sounds using Kong’s analog modelling modules and layering these sounds with samples.
I’ll also show you how to use effects processing to add punch to the individual sounds and the entire drum mix. You won’t need any other software apart from Reason 6 to follow this tutorial and create your own pattern.
You can download the source files for this tutorial here
Step 1 – Start With a Clean Slate
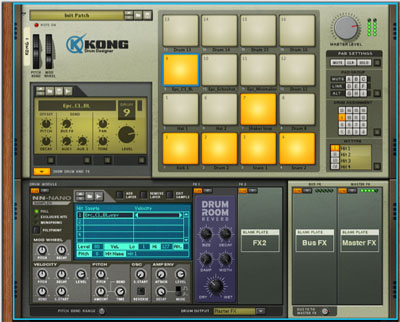
Whenever I’m working on a totally custom kit or patch for any Reason device I like to start with a totally blank canvas. This simply involves loading up a standard Kong and initialising it so that you are not influenced by any pre-loaded sounds. This method also allows a much clearer workflow.

Once Kong is loaded up right click anywhere on it’s interface and select initialise device. This will clear the deck and get rid of any loaded samples, pad assignments and effects routings. We are now good to go.
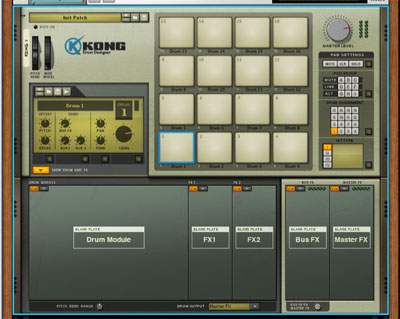
The blank Kong is ready for action.
Step 2 – Kicks and Snares
Let’s start with the bare bones of our beat. To me this is the kick and the snare, get this right in an electronic beat and the rest should be plain sailing. I decided to go with a 4/4 kick drum at 124 BPM. I knew I wanted a typically analog sound but I decided that layering one of Kong’s Analog modules with a sample would be a good move.
The Analog modelling module I used ended recreating an 808 style kick sound. I produced this by using only a small amount of bend, a very low noise mix and relatively long decay.
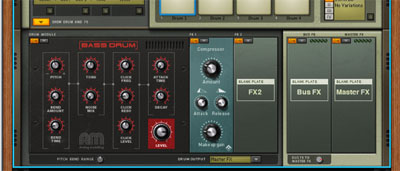
The first 808 style kick is created
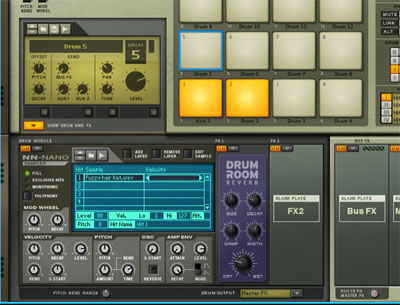
I felt the kick needed a little more bite and introduced this by layering a brighter sample with it. This was achieved by using a nano sampler on the next available pad. The two kick pads were then linked so the initial pattern triggered both sounds. Linking is achieved easily by clicking the small ‘Q’ in the link section and selecting the pads you would like to include in your ‘link group’.

The second kick is added
This worked well and added a lot more bite and impact to the sound. At this point I was happy to push on and add some snares to the mix.
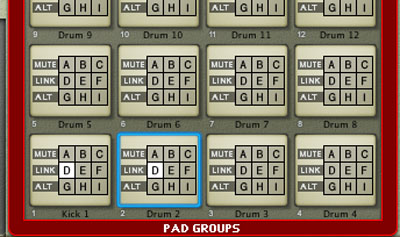
Kong’s pad linking system
I pretty much followed the same method that I applied with the kick here. I used a snappy analog sounding snare, courtesy of Kong’s Analog snare module and layered this with a punchier snare sample. The pads were then linked so that my pattern played on both samples.
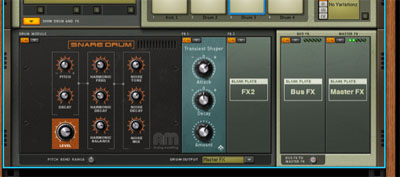
The first snare is added
… And the second
It’s worth pointing out that some processing was used on the individual sounds. A little compression was added where needed, but most importantly the second sample in each group was high passed with a filter insert to ensure no low frequencies were clashing.
Step 3 – Hats and Shakers
Again I took a similar approach with some of the high end percussion. I opted for a TR-909 style hat sample to begin with and then layered this with a brighter, punchier open hat sound generated by the analog modeled hat module.
The high hat samples and analog modules are mixed
The layering and grouping process was repeated here and the sounds were slightly panned to create a subtle stereo image. This also created slight separation between the two sounds.
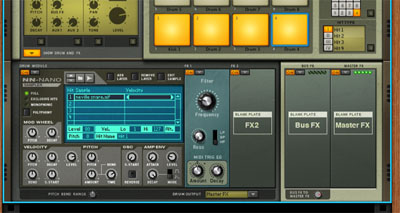
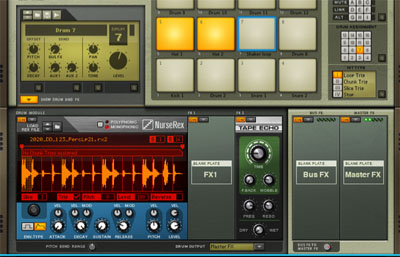
I used a Nurse Rex loop player to introduce an interesting cross rhythm next. A simple shaker loop was loaded and triggered every bar. I then enhanced the loop using Kong’s excellent tape echo effect.
Reason 6 Tutorial – How to Create Custom Kits And Patterns
Step 4 – Percussion and FX
Next up it was time for a bit of decorative percussion. I went ahead and delved into the Reason factory sound bank for this section. I navigated my way to the electronic effects area and loaded three sounds that I thought might work in the mix.
These three sounds were spread across three consecutive pads and their levels were roughly mixed. I then programmed a simple part using all three pads. The whole thing worked very well and very little needed to be done to the pattern.
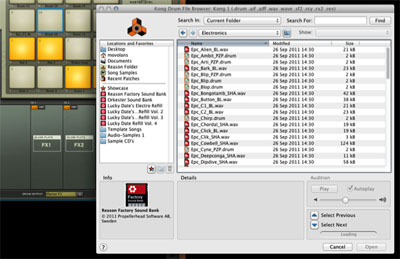
Three percussion sounds are mapped to three pads
I did add some reverb to the last percussion part used to introduce a little extra space to the sequence. This also created a fill of sorts. At this stage the pattern was in place and only needed a few finishing touches.
Effects are added to a few of the percussion parts
Step 5 – Finishing Touches
To make sure everything was in place and the dynamics were behaving themselves I decided to use a few processors.
I actually used a Scream 4 to lightly compress and saturate the entire output of Kong. This was achieved by inserting the unit directly after Kong in the rack and using the ‘Tape’ pre-set. Only light compression and drive were used here but the overall effect is increased cohesion and perceived level.

Scream 4 is put in place to control dynamics and add saturation
Finally I used the limiter in the mastering section to ensure that there were no wayward transients popping out of the mix. I tried not to apply too much processing at this stage as I wanted to retain the dynamics I’d worked so hard to create in the previous steps.
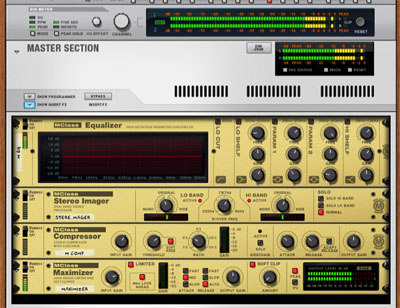
The final mastering limiter
One more adjustment that I made was to use the ‘Explode’ function that’s found in the tool bar menu. When this executed with your single drum part selected all the individual parts will be separated onto their own tracks. This is extremely useful for sequencing and auditioning each part.
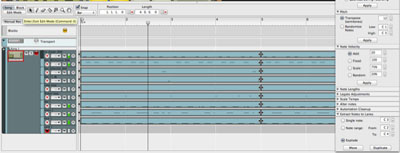
The drum parts are exploded for easy access in the sequencer
This simple electronic beat was now complete and using Kong the process had been simple and enjoyable. Try a similar process yourself.
Original post source here