Once you’ve found a nice loop that makes your track bump, sometimes just switching between various processed versions of the clip is all you need to make your track move along and maintain interest, so heres a tutorial on Ableton Envelope’s and getting creative with clips.
For those of you using Ableton Live, there’s a nice quick way to start experimenting with this. Just load up your audio clip and put your selection of processors on the clip – you might, for example, add a filter, a delay, panning effects, reverb and a flanger – but the beauty of this is what you add is entirely up to you and that’s half the fun. Once you’ve added these processors to your audio clip, you can then make use of the Envelope Editor to write in quickly how these processors affect your clip.
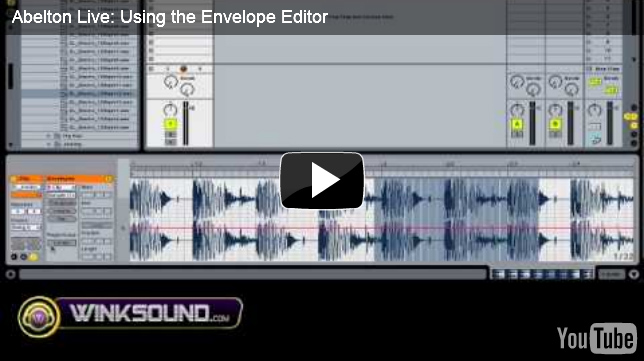
Here’s a quick video from our friends at Winksound on using the Envelope Editor.

So now, what about that idea of just jumping around between differently processed clips? Simple. Just copy multiple instances of your clip on the same audio track as your original.
Then, for each clip, go into the Envelope Editor and write in different processing combinations for each – you might have one dry, one with loads of reverb, one that becomes increasingly flanged over the clip length, one that filters, and combinations of all of these. Again, this is all up to you and where the fun comes in.
Lastly, make sure you set the quantization for each clip so that when you play it it starts in time with your session and then assign each clip to a key on your keyboard or controler using the MIDI learn function. Now, you can easily jump between various differently processed versions of your loop with ease and create some interesting chopped up progressions.
Enjoy! Ableton Envelope Editor And Getting Creative With Clips
For more Ableton Live training visit our online course at WWW.LIVE-COURSES.COM and get 20% discount of all courses with the code LM20


