Tips For Reverb – 10 Reverb Tips You Can Really Relish
Tips For Reverb – 10 Reverb Tips You Can Really Relish
Reverberation is a subtle but crucial part of any mix. The wrong choice can make everything sound harsh, messy, muddy or distant. The right choice can bind a mix together, add depth, space, and air, and enhance detail. The trick is knowing the difference.
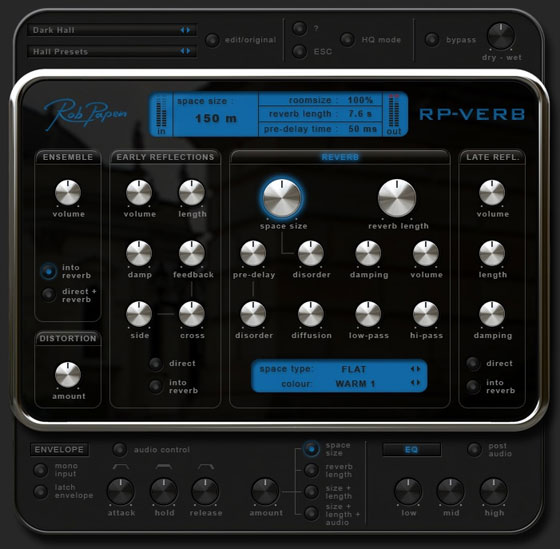
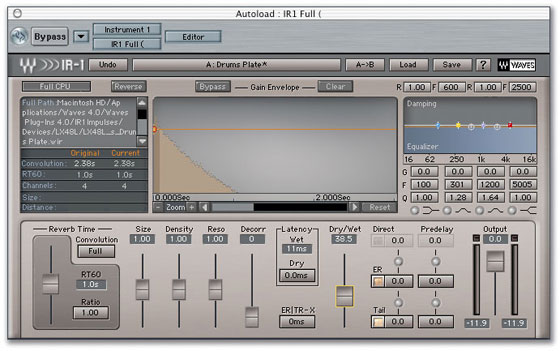
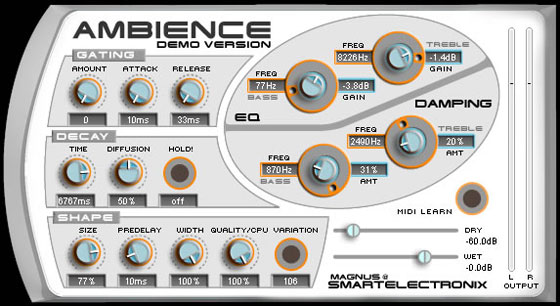
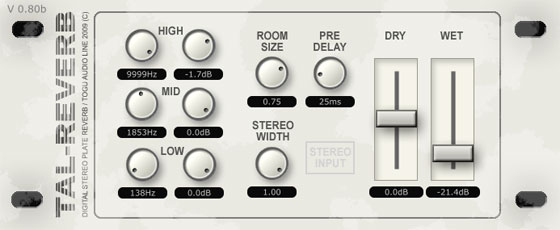
Once upon a time, things were simple. You either had an SPX-90 or a Lexicon, and you got on with the job. Now, the range of choice is bewildering. In the 21st century there are hardware and plugin reverbs, modelling reverbs, sampling reverbs, convolution reverbs, emulating reverbs… the list goes on.
This post will completely ignore all that confusion, and attempt to cut right to the chase. Later I’ll offer some ideas, hints and tips for reverb for getting the best results, but first we’ll look at:
How to choose the right reverb:
Broadly speaking, there are two types of reverb – ones that try to sound “natural” – meaning, like a real acoustic space – and ones that don’t. Stage one is to decide which you are looking for.
Natural
– These make instruments sound as if they are in a real space. They tend to be more subtle, and add more depth to a mix. If you use too much you’ll end up swamping the original character of the recording, but used well, they can help give character to a close-miced recording, and make things sound more three-dimensional and “real”. It’s important to choose one that complements the sound of the space you recorded in – if the reverb is too different from what is already there, the two will “fight” and the result will sound artificial.
The Rest
- Notice I haven’t called these un-natural – we are so used to artificial reverbs today that even the least realistic reverb can sound completely normal. Rather than emulate a real room or hall sound, this type of reverb is more of a pure “effect” – they allow you to add life or “sheen” to dry recorded sounds without making them “sit back” in the mix in the same way as a natural verb.
If it’s not immediately obvious which of these two you need, don’t worry – just experiment ! If it sounds good, it is good. Even when I already have a clear idea in my head about what I want, my first step in choosing a reverb is always to simply to flick through a load of presets, and make a note of the ones that I like. Keep an open mind – it’s easy to settle on a small pool of favourites, but it’s always worth listening with fresh ears every so often. Once I have a shortlist, I then listen to each in turn and use the ideas from the list below to tweak the best, before doing final comparisons to make the final choice.
Finally – don’t be afraid to use both types in the same mix. Maybe adding a realistic room-ey reverb to the guitars and drum overheads helps pull everything together in the mix, but the vocal just needs a shimmery plate and the snare a little more life.
Ideas for using and abusing reverb:
Now to the nitty-gritty. Here are some of the rules of thumb, ideas and techniques I’ve come across for using reverb effectively.
Take time to make a good choice early on:
It’s amazing how much influence reverb can have on how we perceive a mix – and it’s important to get the right one early on. If you pick something too bright and harsh early on, you may struggle to get the warm sound you’re aiming for, for example. On the other hand a dull, muddy reverb could drag down what’s otherwise supposed to be a spiky, punky mix.
Balance level and time:
The most common reverb question is – “how much ?” One simple answer is:
Turn it up until you notice it, then turn it down slightly.
But this only works if the decay time is right first. If the reverb tail is too short then turning it up won’t help, if it’s too long you won’t be able to get it loud enough before it starts to swamp things. The length of the reverb and it’s amount need to be balanced against each other, and may be different for separate elements in a mix – don’t be afraid to patch in two sets of the same reverb with slightly different decay times – or other parameters, for that matter.
Learn about early reflections:
Most reverbs include two elements – the familiar longer reverb tail, but also much shorter elements known as “first reflections” – the idea being that most instruments in a real space are reflected from a nearby wall first. Our ears pick up on this, and it has a big effect on our perception of the size of the “room”. Experiment with the reverbs you have access to to learn how their settings affect the sound.
Always EQ the return:
I always bring the reverb return up on a stereo channel (rather than routing it straight to stereo) and then EQ it. Most reverbs include settings for tweaking how much high frequency there is in the sound, but I think it’s faster (and gives more control) to just EQ the return. It’s amazing how many cheap and nasty reverbs can be made to sound ten times more natural by slapping on a low-pass filter, for example.
Sometimes EQ the send:
Depending how the reverb works, this may give a different result than EQ-ing the return. It also allows you to use the same reverb for different instruments – say you have a bright horn section which really “catches” the reverb and emphasises it’s unnatural qualities, but you want to use the same rev on the piano to help blend the mix, and it needs the brightness – try routing the auxiliary send from the horns through an EQ first, to take the harshness out on it’s way into the reverb.
Consider compressing the send as well !
A common problem with reverbs is that they sound fine most of the time, but certain louder notes “catch” them and the huge reverb tail sticks out a mile as a result. In the same way that EQ cans sometimes help, compressing the signal you send to a compressor can solve this problem – it holds back the loud notes in the send to the reverb only, and gives a much smoother result.
Automate reverb levels for complete control:
It’s not uncommon for a reverb that sounds great when everything is going full-tilt to sound completely over-the-top in quiet sections, or vice-versa. Using automation to “ride” the return level – or the levels you’re sending – can keep a reverb sounding great in both loud and quiet sections. Or, if you have “sticking out notes” and the suggestion about using a compressor doesn’t work for you, automation can sometimes get a better result – custom tweaking the reverb send by hand. I once made seventeen separate reverb automation changes in a single 40-second sax solo !
Watch out for spill:
Unless you have 100% isolation in your mix, always be aware that spill may be influencing things. The dull, muffled sound of drums in the booth next door may be getting out of hand once it bleeds into the vocal reverb send – again, EQ-ing the send may be a solution to this – or perhaps using a gate.
Tweak tweak tweak:
If you’re using a preset reverb sound, you probably aren’t getting the best out of it. Presets are invaluable for quickly auditioning and choosing which reverbs have the right “flavour” for a given mix, but at the very least you need to optimise the decay time and amount of early reflection. Most reverbs offer far more elements to tweak and fine-tune, though. Just like playing an instrument, time spent experimenting with all the possibilities will always be a worthwhile investment.
Don’t use any:
Maybe you don’t need any artificial reverb at all ! If the space you’re recording in sounds great, sling some extra mics and try to capture it, then mix it in instead of (or as well as) artificial reverb. And be aware that sometimes things sound great dry – or, much more commonly, that an effect other than reverb can give you what you’re looking for – delay on vocals instead of reverb is a classic example.
Whichever of these suggestions you decide to make use of, the most important message is simply – never underestimate the power of reverb. All too often it’s just the case that a tried and trusty favourite is applied for the rough mix, and never gets improved or optimised. It may take longer, but time spent choosing the right reverbs for a mix can reap dividends and actually end up saving time, in the long run.