
How To Make Jungle Breaks
In this tutorial, producer Tim Cant demonstrates how to create tight, rolling jungle beats using breaks from Loopmasters’ Original Jungle Breaks. Packed with freshly recorded live drum parts, Original Jungle Breaks is a goldmine for producers searching for that authentic breakbeat vibe.
If you love the clattering, hype-inducing sounds of jungle breakbeats and are looking for inspiring new beats to chop, look no further than Original Jungle Breaks from Loopmasters. Let’s see how we can layer up two beats, originally at different tempos, into a hybrid break that’s ready to demolish the dancefloor.

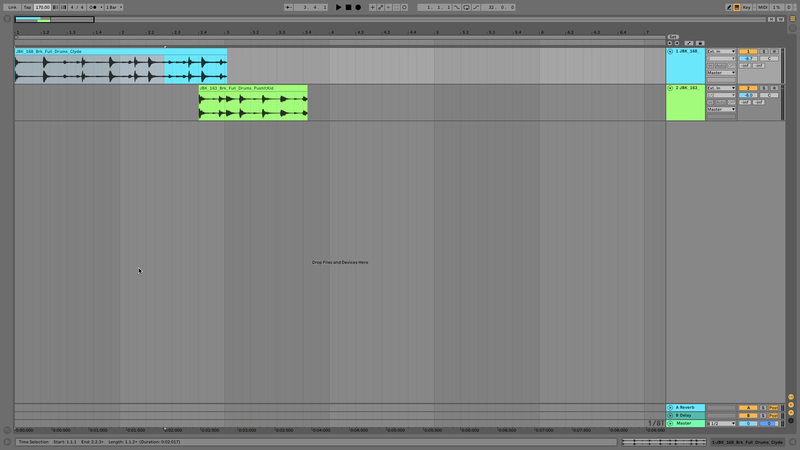
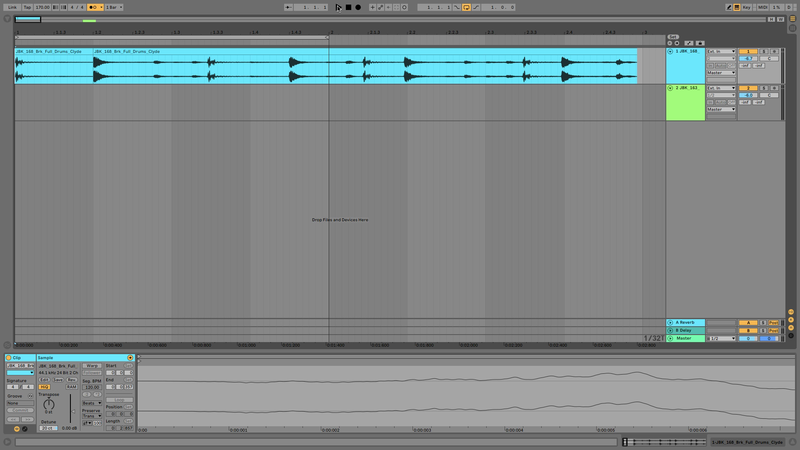
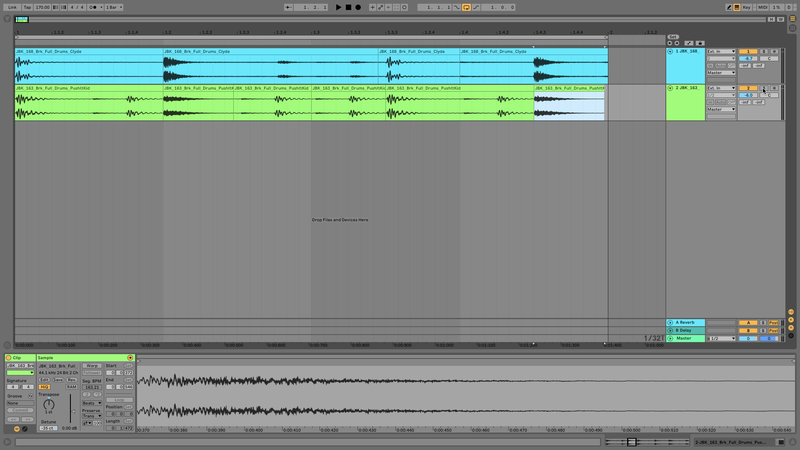
When working with jungle breaks it can be difficult to get multiple ride-heavy breaks to sit together, so let’s pick one break with rides - Full_Drums_Clyde from the 168BPM folder - and one without - PushItKid from the 163BPM folder - and drag them onto their own audio tracks. Set the project tempo to 170BPM.
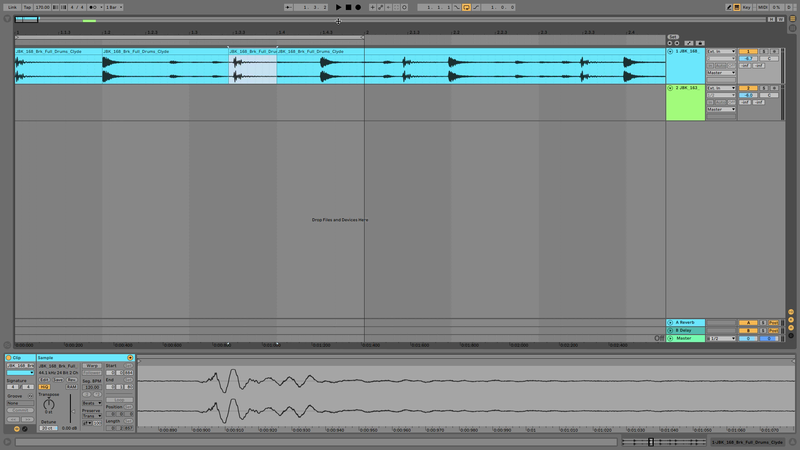
Solo the Full_Drums_Clyde track and activate your DAW’s metronome. Play the project back - we can hear that the break isn’t quite in time, and we can see that the snares are getting further and further behind the beat as the sample goes on. If we turn the detune amount up, we see that the snares fall into line and the beat sounds tighter with the metronome. Set the Detune to +20 cents - we can be sure that we’re in the right ballpark because the beat is sounding more or less on point when we turn on our DAW’s looping mode.
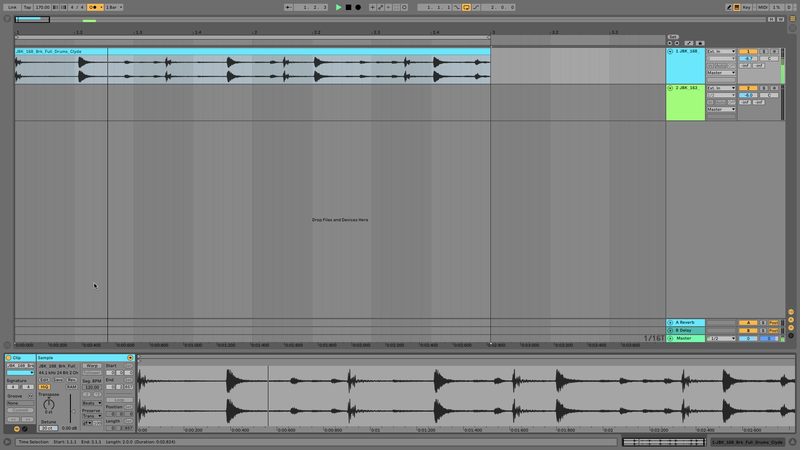
This break has a couple of tricky characteristics. Firstly, there’s no kick at the start of its second bar, which makes it a bit trickier to hear how in time it is, and also if you zoom into the snares you’ll see they play slightly after the beat. This gives the break a loose feel that’s more apparent when we have the rigid metronome activated.
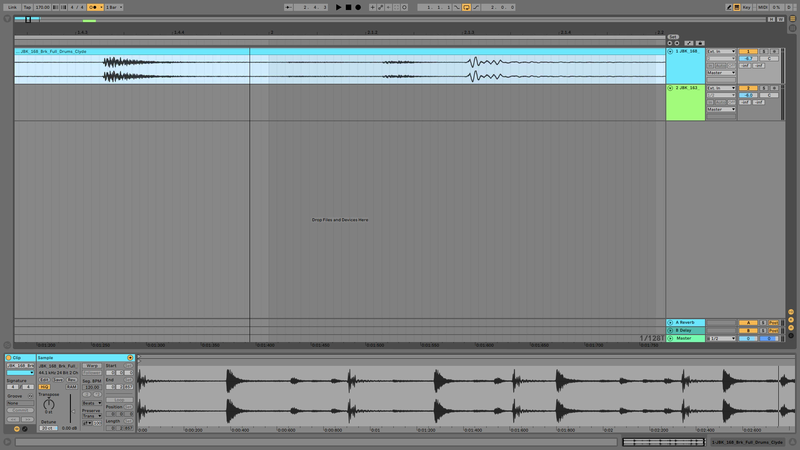
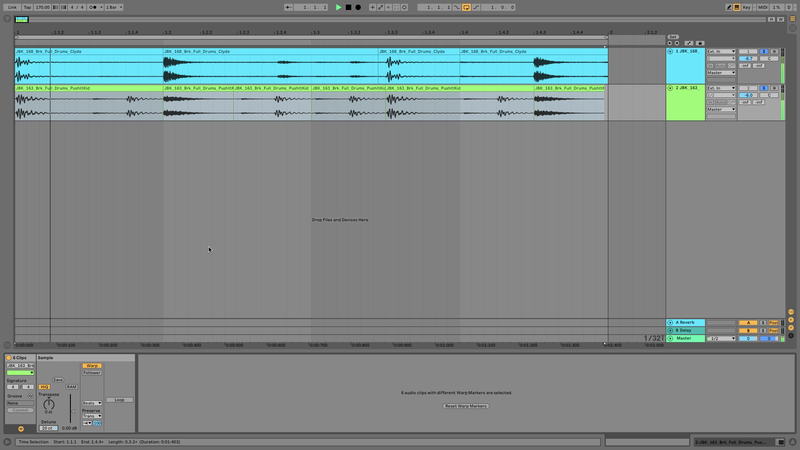
While all this organic looseness is very lovely, let’s tighten things up a bit. Loop the first bar of the break. Then, turning Live’s snap off, slice the start of the snare and bring it forward so that it plays more tightly on the second beat of the bar.
This makes everything following the snare in the break play sooner, and everything is looking and sounding right apart from the second kick, which is playing a bit before the sixth eighth note.
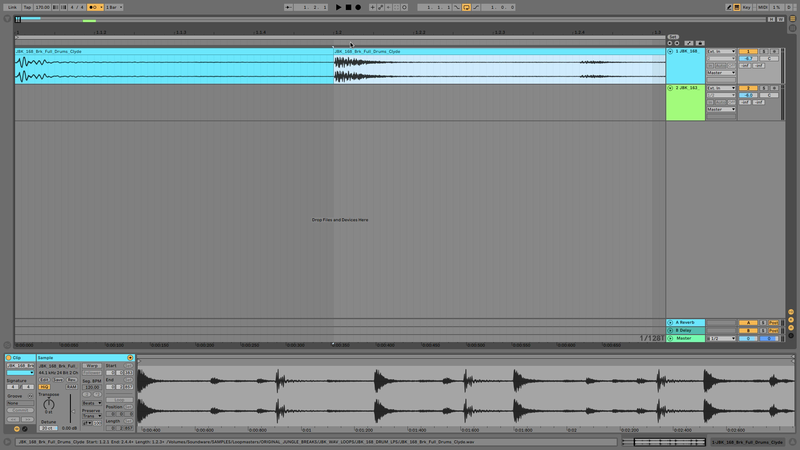
We don’t want to affect the timing of the snares and hats, so slice the break at the start and end of the sixth eighth note. Now move the start point of this clip to the start of the second kick. This puts the kick in the right position, and we can get rid of the unwanted kick transient by dragging the start of the kick clip left to cover it.
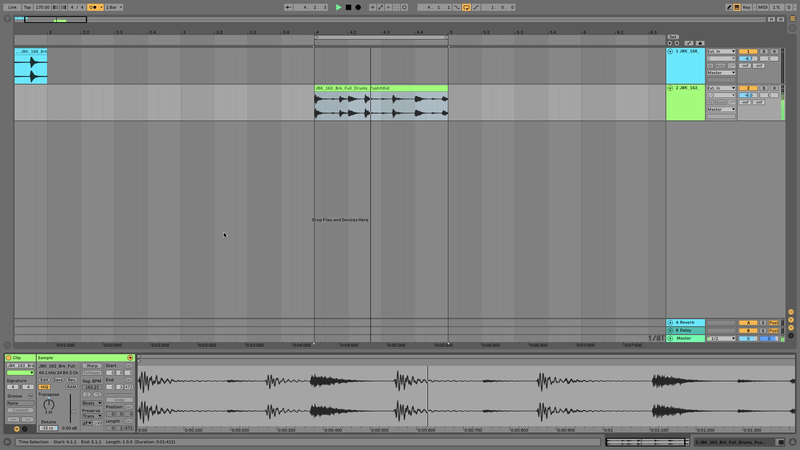
The beat is now in time with the project tempo and is playing nice and tightly, so let’s add our second break. Turn up its pitch so it’s in time.
The two breaks are playing different rhythms so we’re getting a bit of a polyrhythmic old skool feel, but let’s go for something a bit tighter. Replicate the rhythm of the first break in the second break by copying the high hat shuffle from the second eighth note to the fourth and fifth eighth note, then copy the kick-hat-snare chunk onto the section after that.
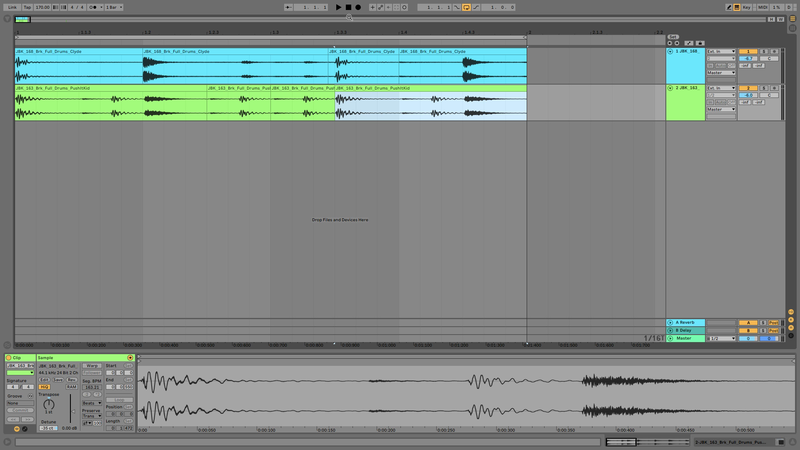
The snares need a little tightening up. Get rid of the little glitch after the snare by, again, dragging the left hand side of the following clip forward. Copy this version of the snare over the second snare. This results in a little gap at the end, but it sounds OK even when the break is soloed, so there’s no need to mess about with it.
You may want to experiment with the tuning of your breaks. While it’s possible to do this without using warp mode, you can maintain the break’s transient as much as possible by setting Beats Mode Transient Loop Mode to Off.
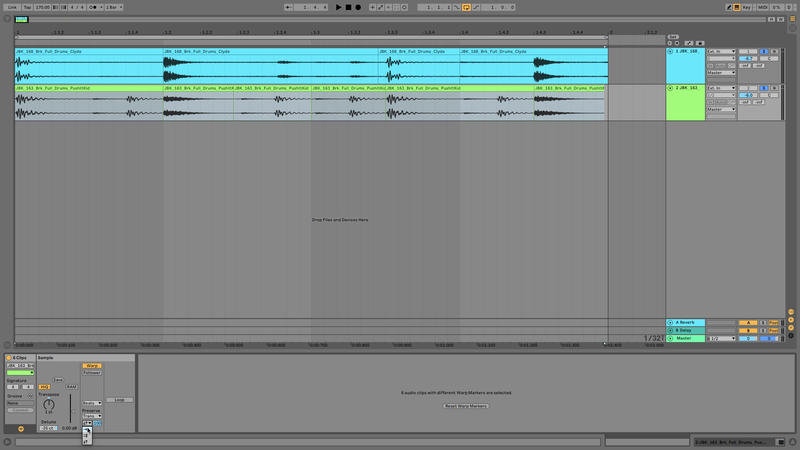
This break sits pleasingly with the first break when tuned up 20 cents.
The kick on the second break’s high hat shuffle is making the beat a little busy, use hi-pass EQ at about 160Hz to remedy this.