How To Get the Perfect Jump Up Bass
Getting your mid-range bass layer right is of paramount importance in jump-up DnB: it’s the sound that really drives the track and because there aren’t lots of other elements crowding the mix it’s really going to be the focus of the listener’s attention. In this tutorial we’ll show you how to make Jump Up DnB beats and how to perfect your bass-auditioning workflow using Loopmasters’ Nu Elementz - Jump Up Drum & Bass which is available for free with Loopcloud’s free 30-day trial.
Check out Jump Up DnB Producer and DJ, Nu Elementz sample pack

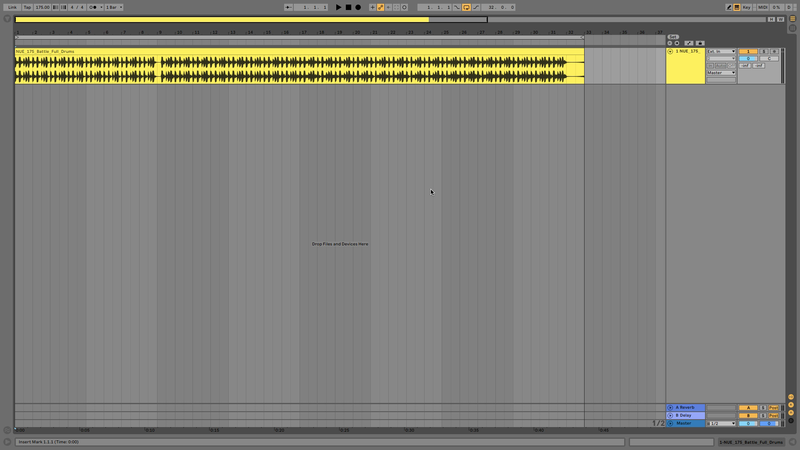
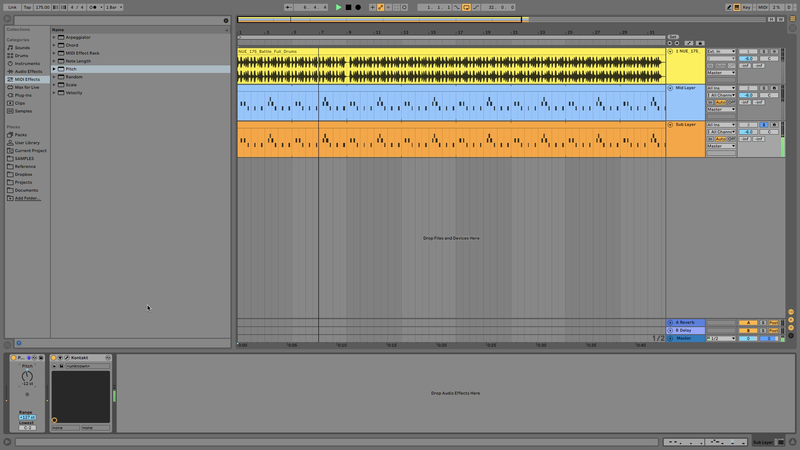
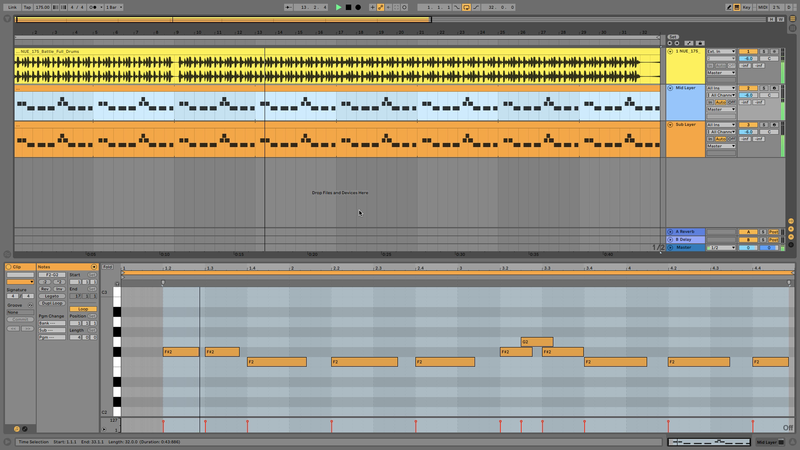
Set your BPM to 175. It’s a good idea to start with a beat to audition your bass noises against, so let’s go with NUE_175_Battle_Full_Drums.
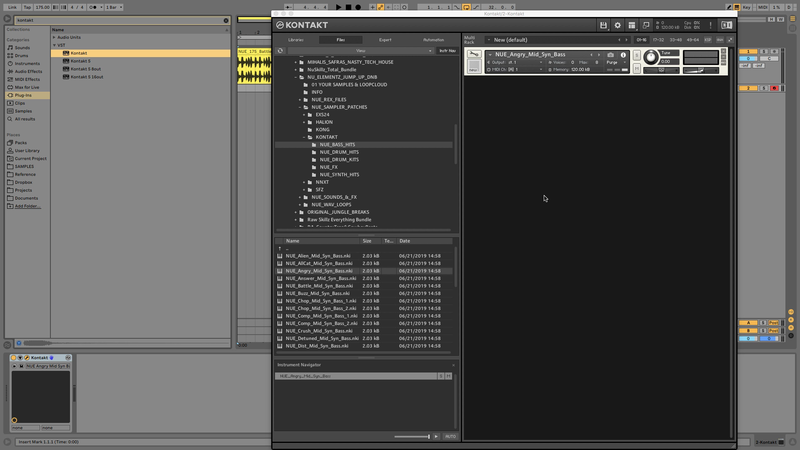
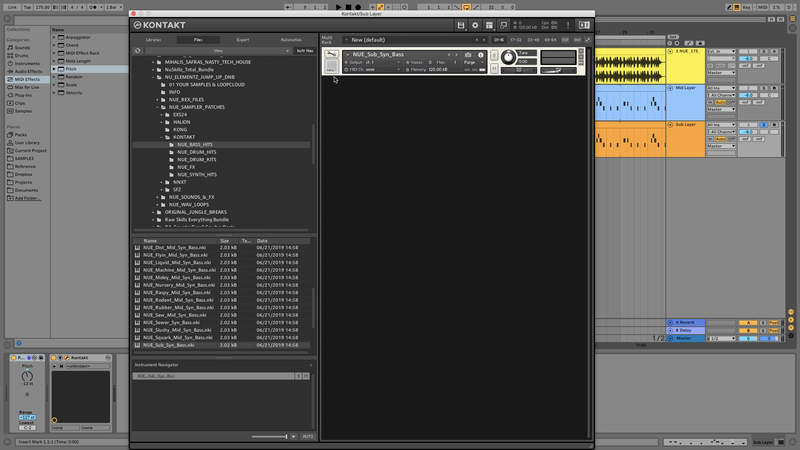
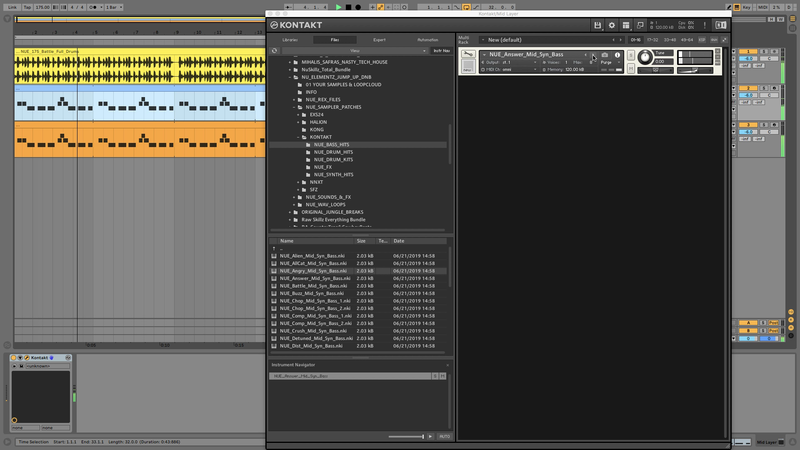
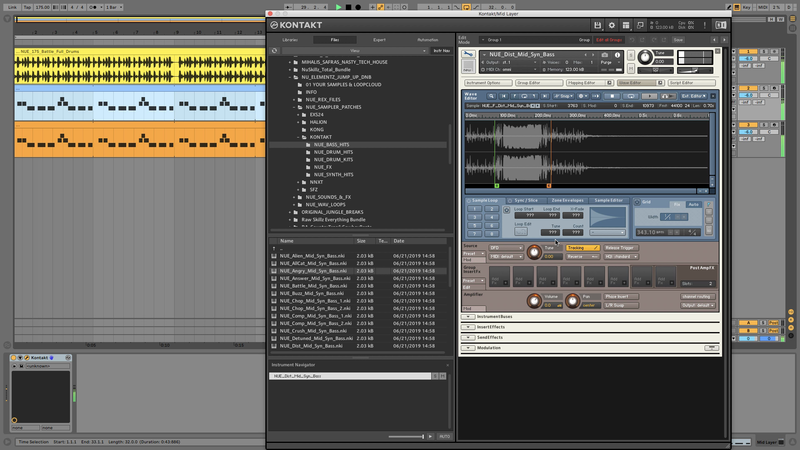
Once you’ve got this looped up in your DAW, find a bass noise you like in the NUE_SOUNDS_&_FX/NUE_BASS_HITS folder. Select a sound you like - for examples, NUE_E_Angry_Mid_Syn_Bass, and locate the corresponding patch in the NUE_SAMPLER_PATCHES folder. Here you can find a premade sampler patch for the particular bass sound you’re after. This is useful because we can use these patches to quickly cycle through the available sounds rather than creating a new patch and setting its root note for each one. Load up the sample - we’re using Kontakt in this case...
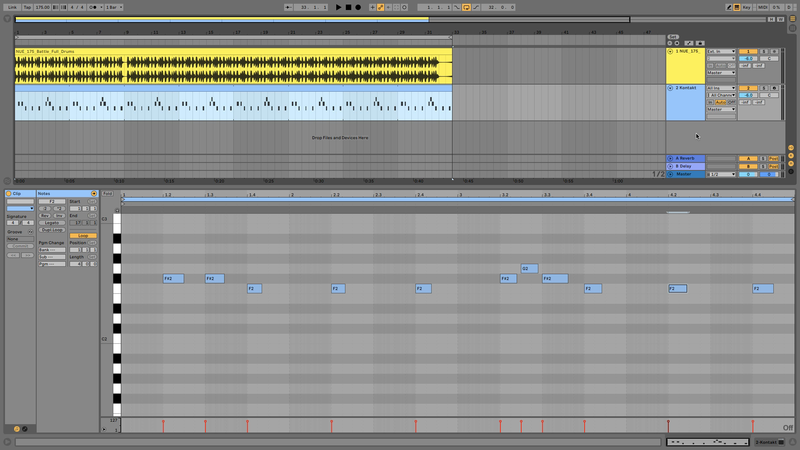
and create a bass-line in your DAW’s MIDI grid editor.
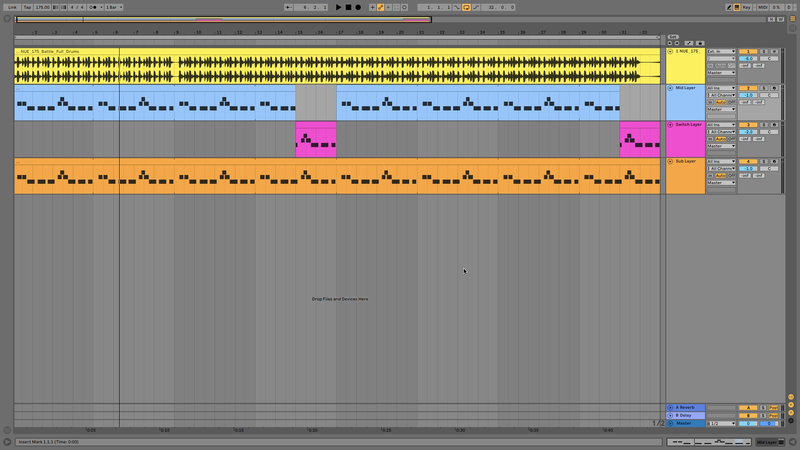
We have a mid layer now, but won’t get that heavy DnB impact we’re looking for until we add a sub. Thankfully there’s a sub bass patch included in the Nu Elementz pack. Duplicate the mid bass part, and load up the NUE_Sub_Syn_Bass patch into the new instance of your sampler. We want this to play an octave down, in this case we’ve used Live’s included Pitch MIDI effect to transpose it down 12 semitones.
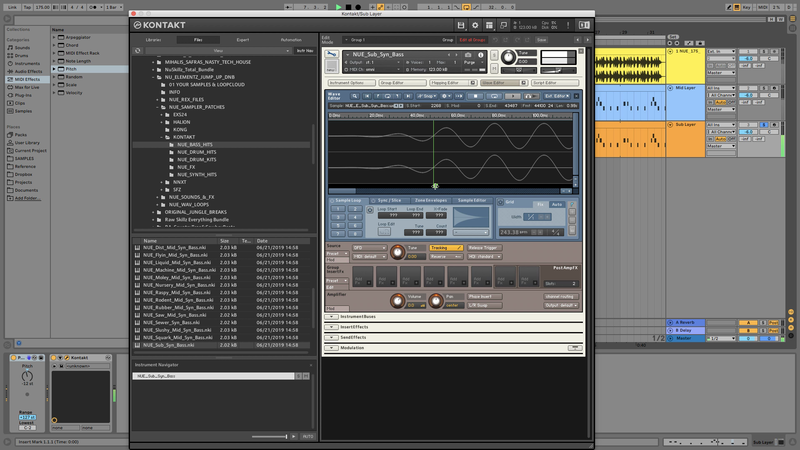
Set the Max number of voices in your sampler to 1 so we don’t get any overlapping notes...
and also moved the start point of the sampler a bit further along so that the bass comes in more quickly.
An important thing to bear in mind is that you’re going to want the sub notes to last a while and be quite tight with the rhythm, so go into the MIDI and edit the start and end points of the notes until they’re sounding tight.
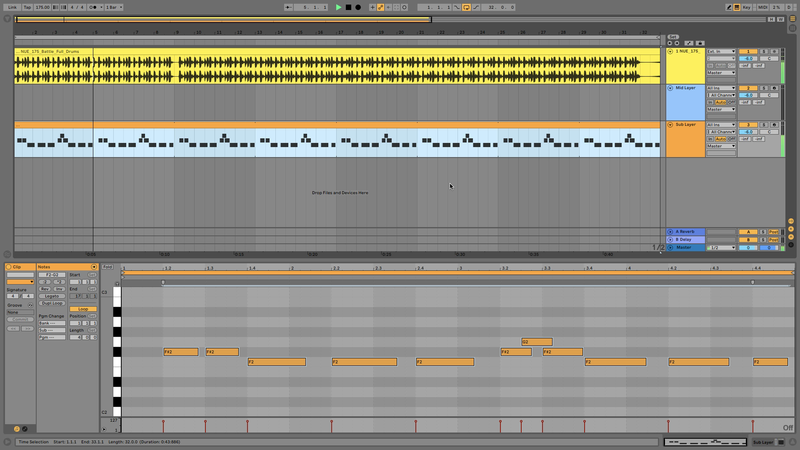
You can then copy this MIDI back over the original mid layer MIDI in case we end up selecting a mid layer sample that lasts longer than Angry_Mid_Syn_Bass.
Now the sub bass is sounding right we can return to the mid layer and try out some different sounds, which we can do by simply cycling through the available patches using Kontakt’s patch navigation arrows. Remember to turn the Max number of voices down to 1 to avoid overlapping notes.
If you like a sound but you’re not keen on how it’s working rhythmically you can do the same thing as we did with the sub and change the start (or end) point of the sample to tighten it up.
This approach makes it easy to create switch ups too, just make another duplicate of the bass line and pick a different patch!